Zeal offers a full integration team to help you get up and running with our product. Although our team leads this process, in this guide we give you an overview of the steps to set up your account.
If you haven’t already, contact Zeal to create a Zeal Partner Account.
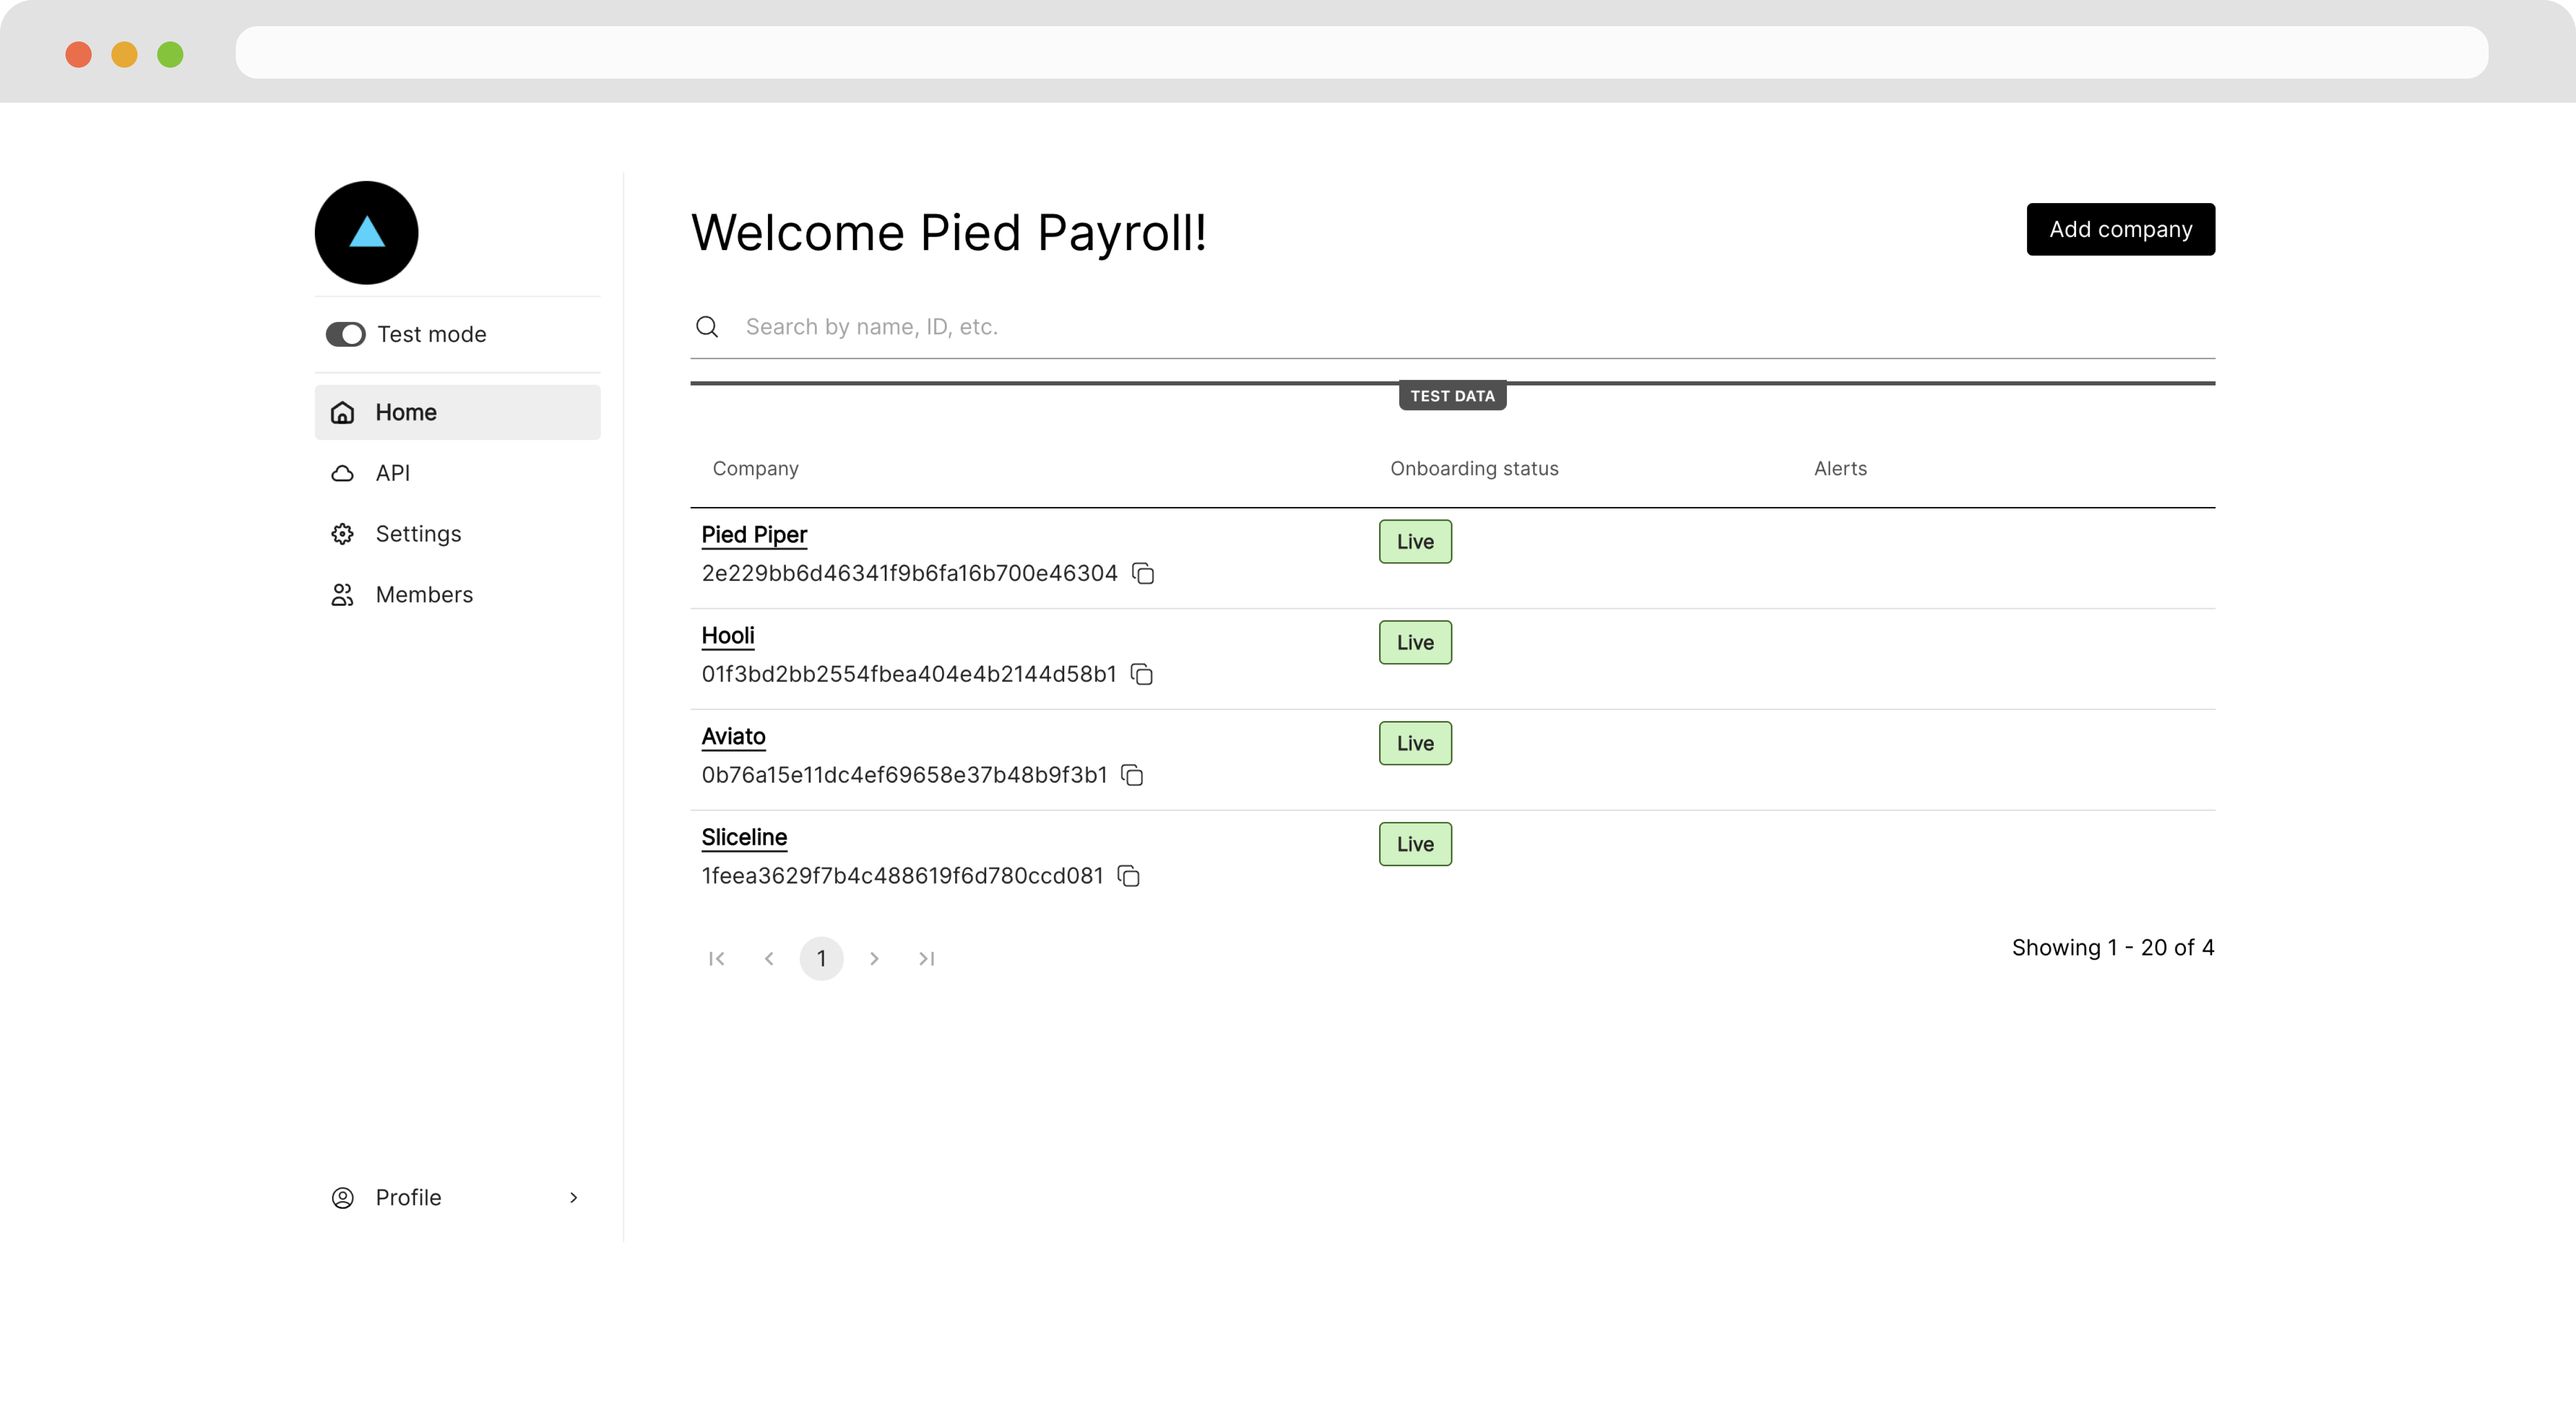
Partner Dashboard
Once our team creates your account, you can access your Partner Dashboard at app.zeal.com.
From your Partner Dashboard, you can manage all your settings as well as oversee your users (employers and workers on your payroll system).
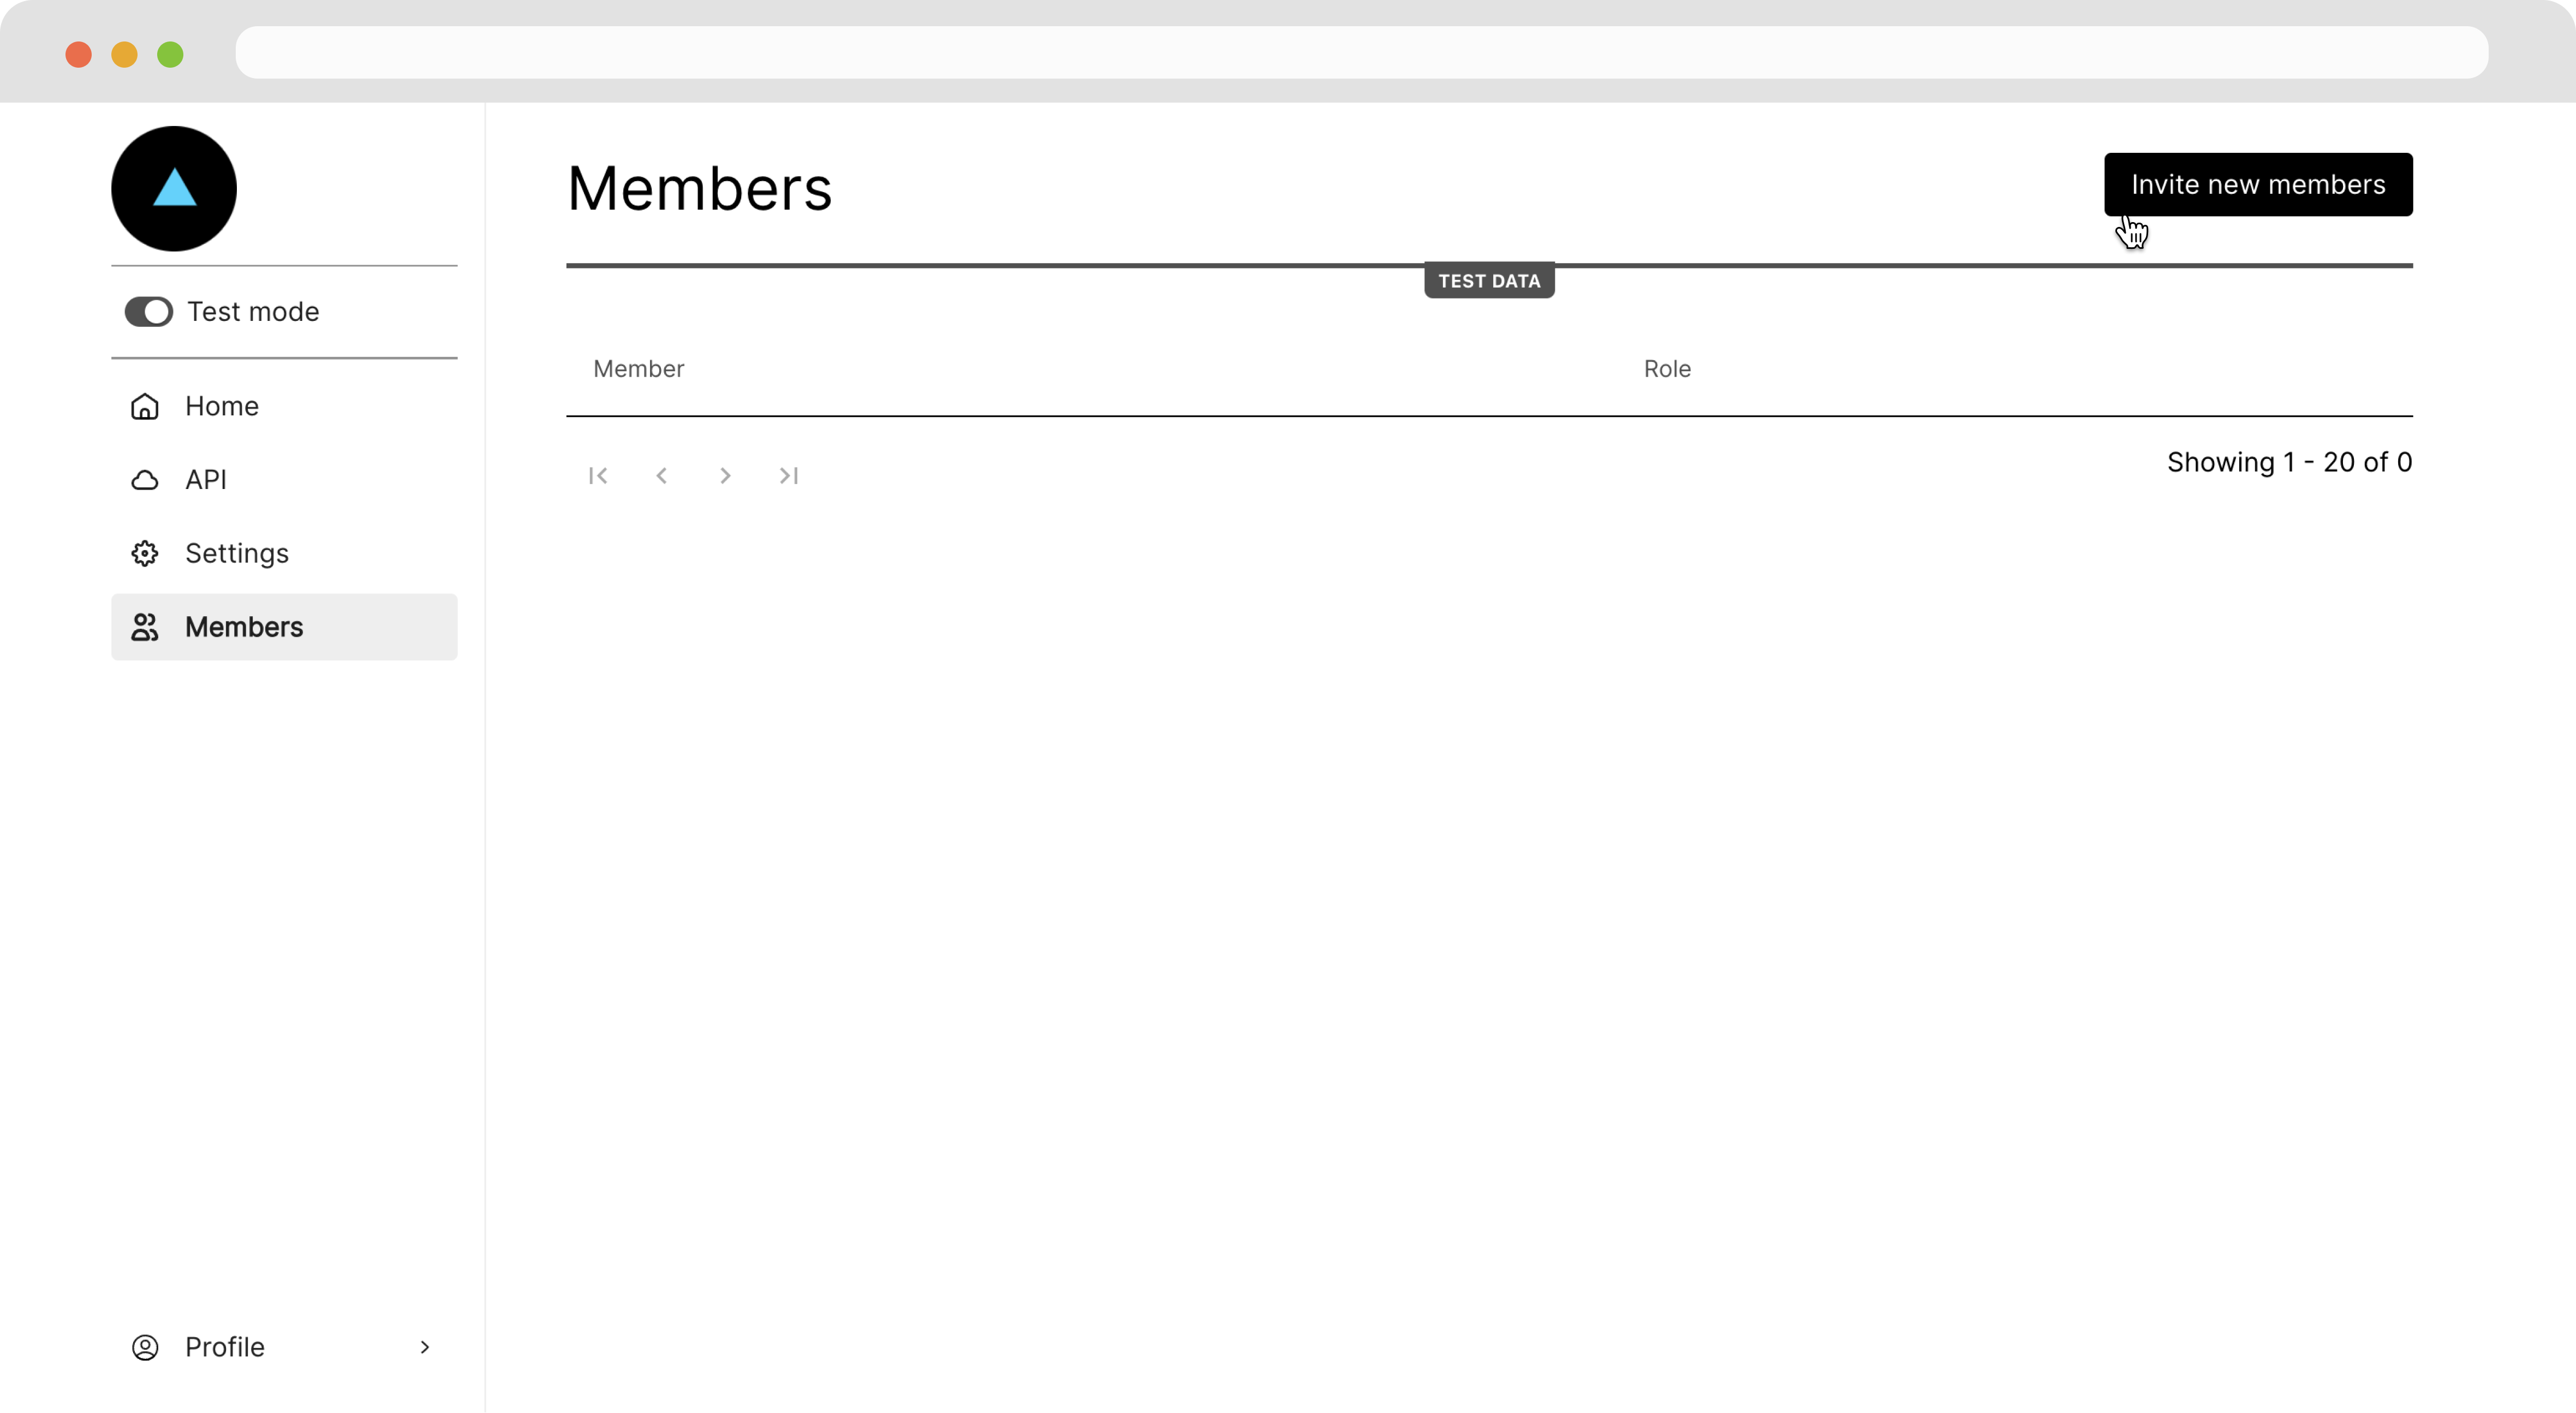
Inviting team members
To add other team members, navigate to the Members page and click the Invite new members button.
White-label configuration
We highly recommend adding your brand to Zeal to utilize Zeal's whitelabeling functionality. Follow these steps:
- Configure the domain for the components
- Set your base URL
- Brand the components with your logo and favicon
Configuring your domain
Our integration team sets up your white-label components to point to your desired domain. That way, your URL displays on all the white-label components. Often, our partners choose a subdomain such as payroll.[your-domain].com. Our integration team also assists with your DNS settings.
Typically, the instructions to set up a custom URL for white-label components are as follows:
-
Provide Zeal with your desired subdomain (e.g., payroll.yourcompany.com).
-
You'll receive two CNAME records from Zeal:
- First CNAME: Set this record as provided by Zeal.
- Second CNAME: Point your subdomain to app.zeal.com.
- Add both CNAME records to your domain's DNS settings.
-
Wait for Zeal to complete the backend setup.
Once Zeal confirms setup is complete, your white-labeled payroll app should be accessible at your chosen subdomain.
Setting your base URL
Whenever a user completes an onboarding flow or logs out of a white-label component, you want them to return to a familiar place. You can configure a base URL so Zeal knows where to redirect your users.
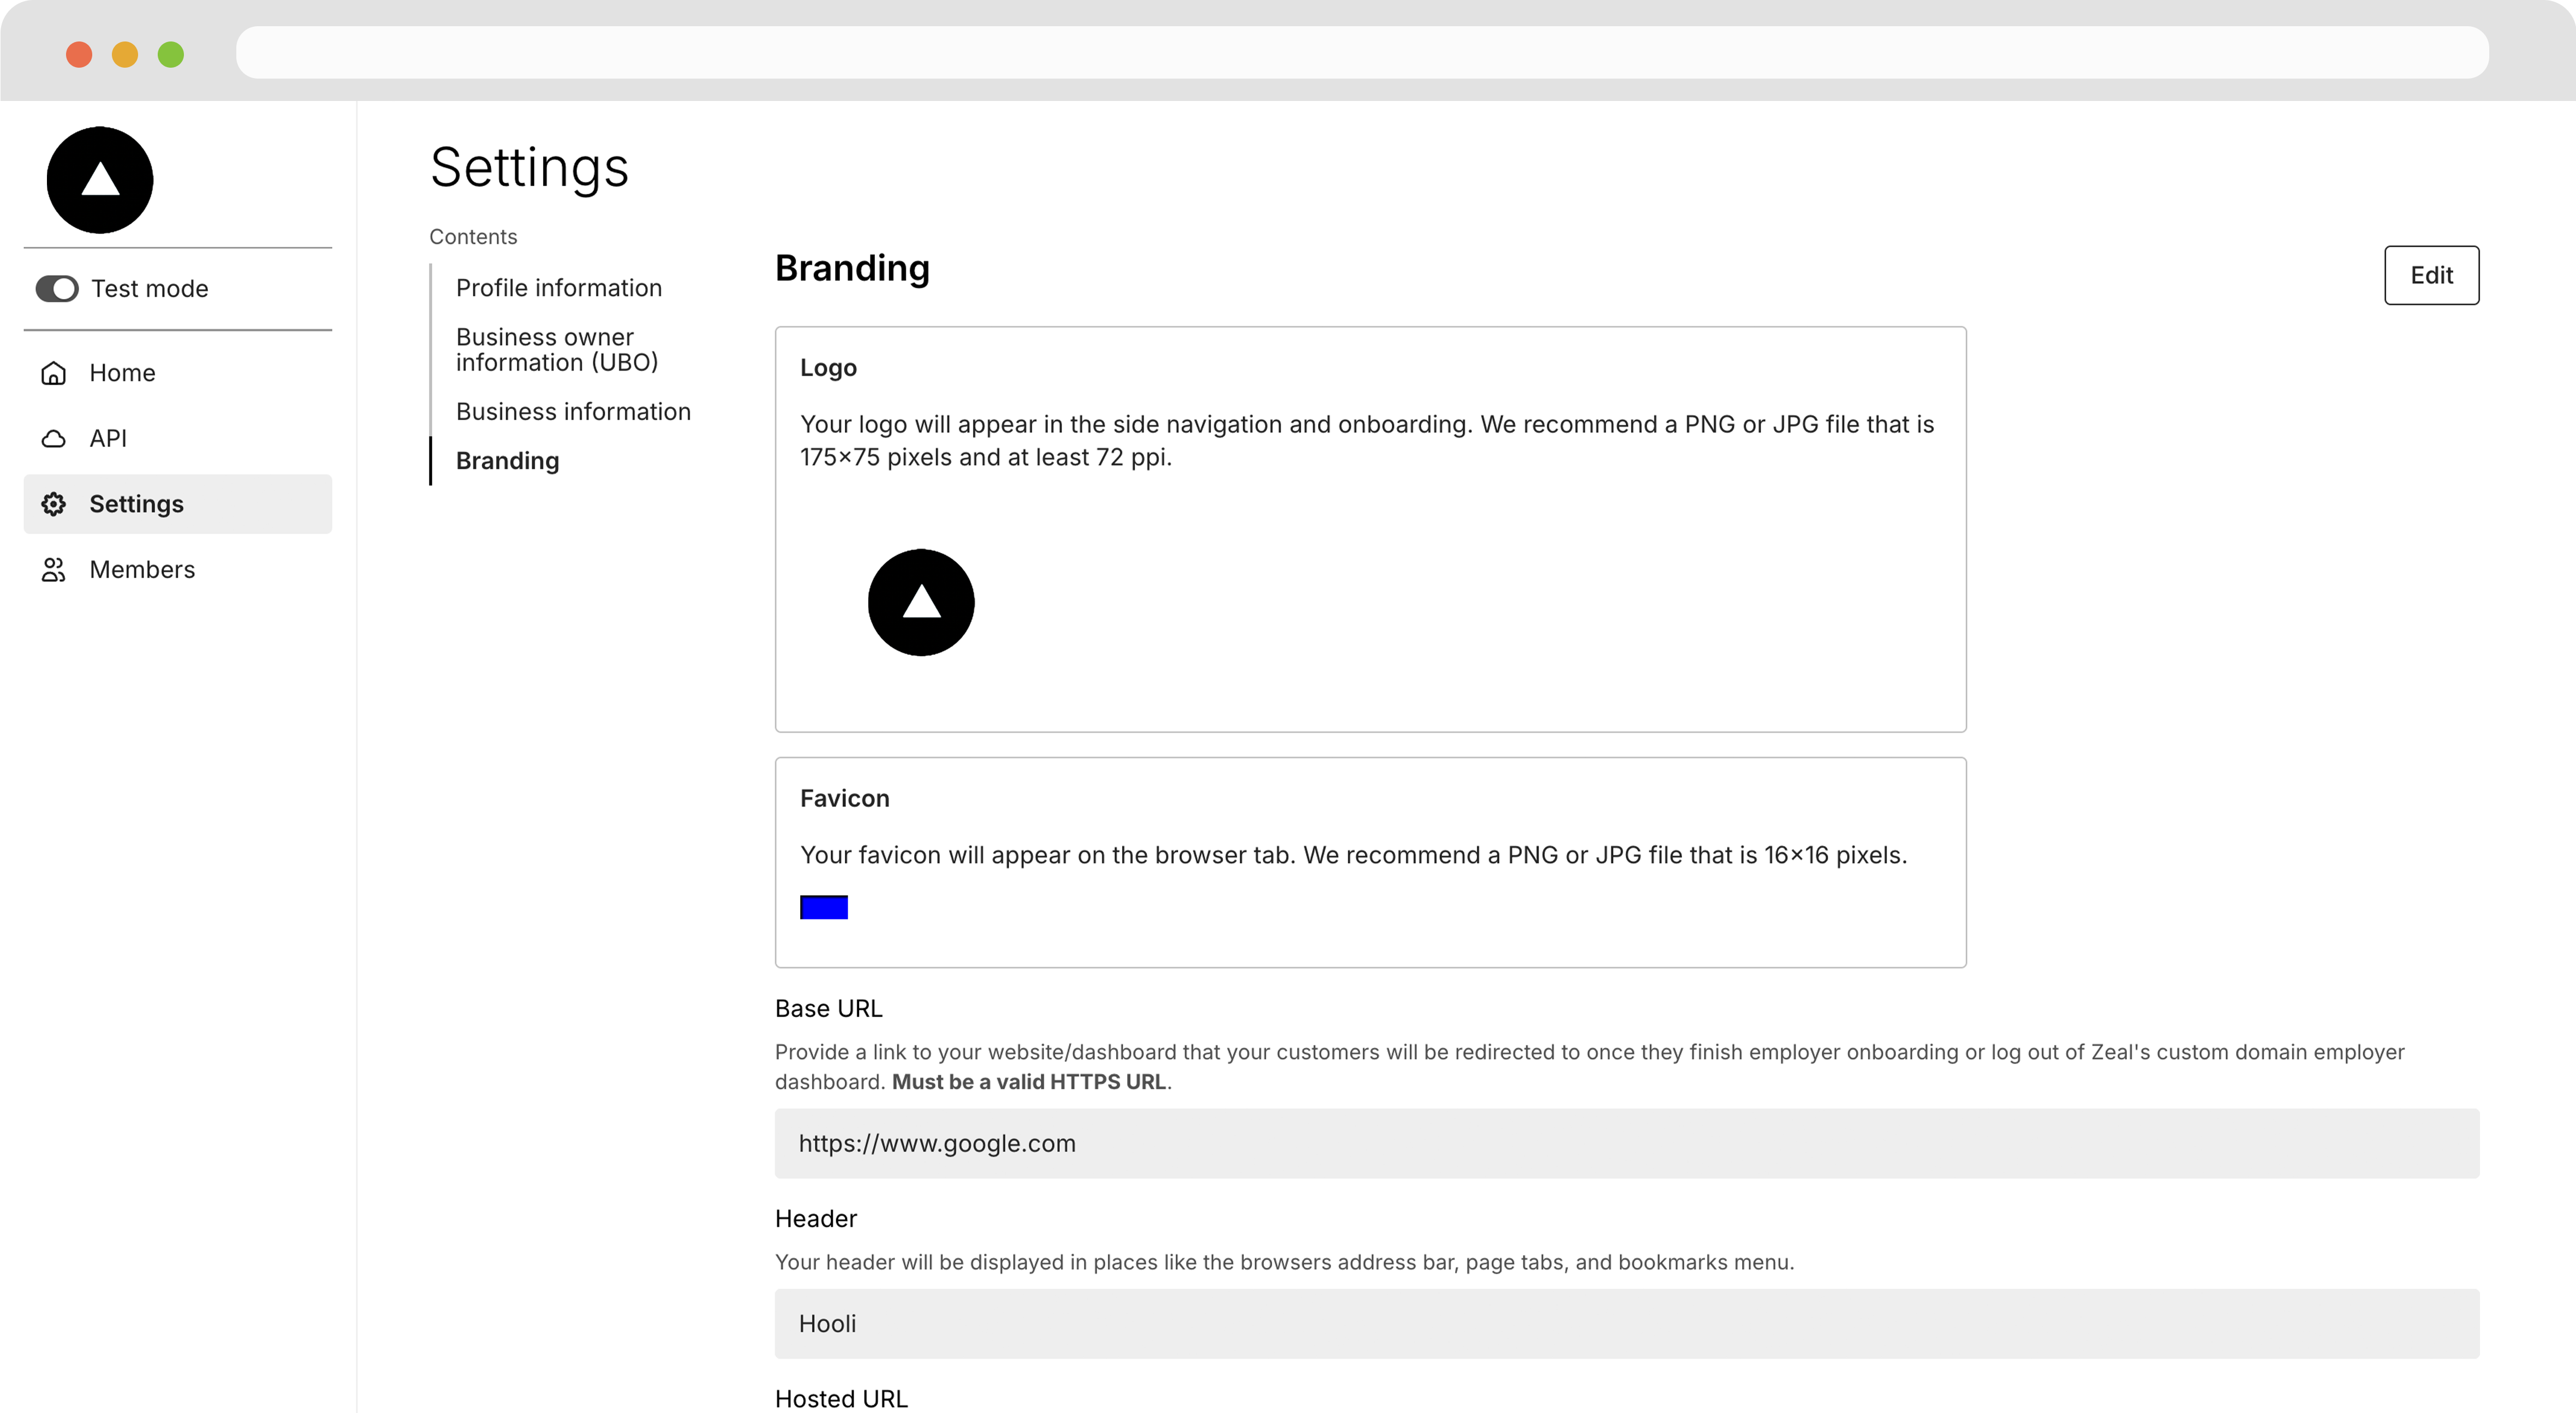
Under the Settings page, click the Edit button under the Branding tab.
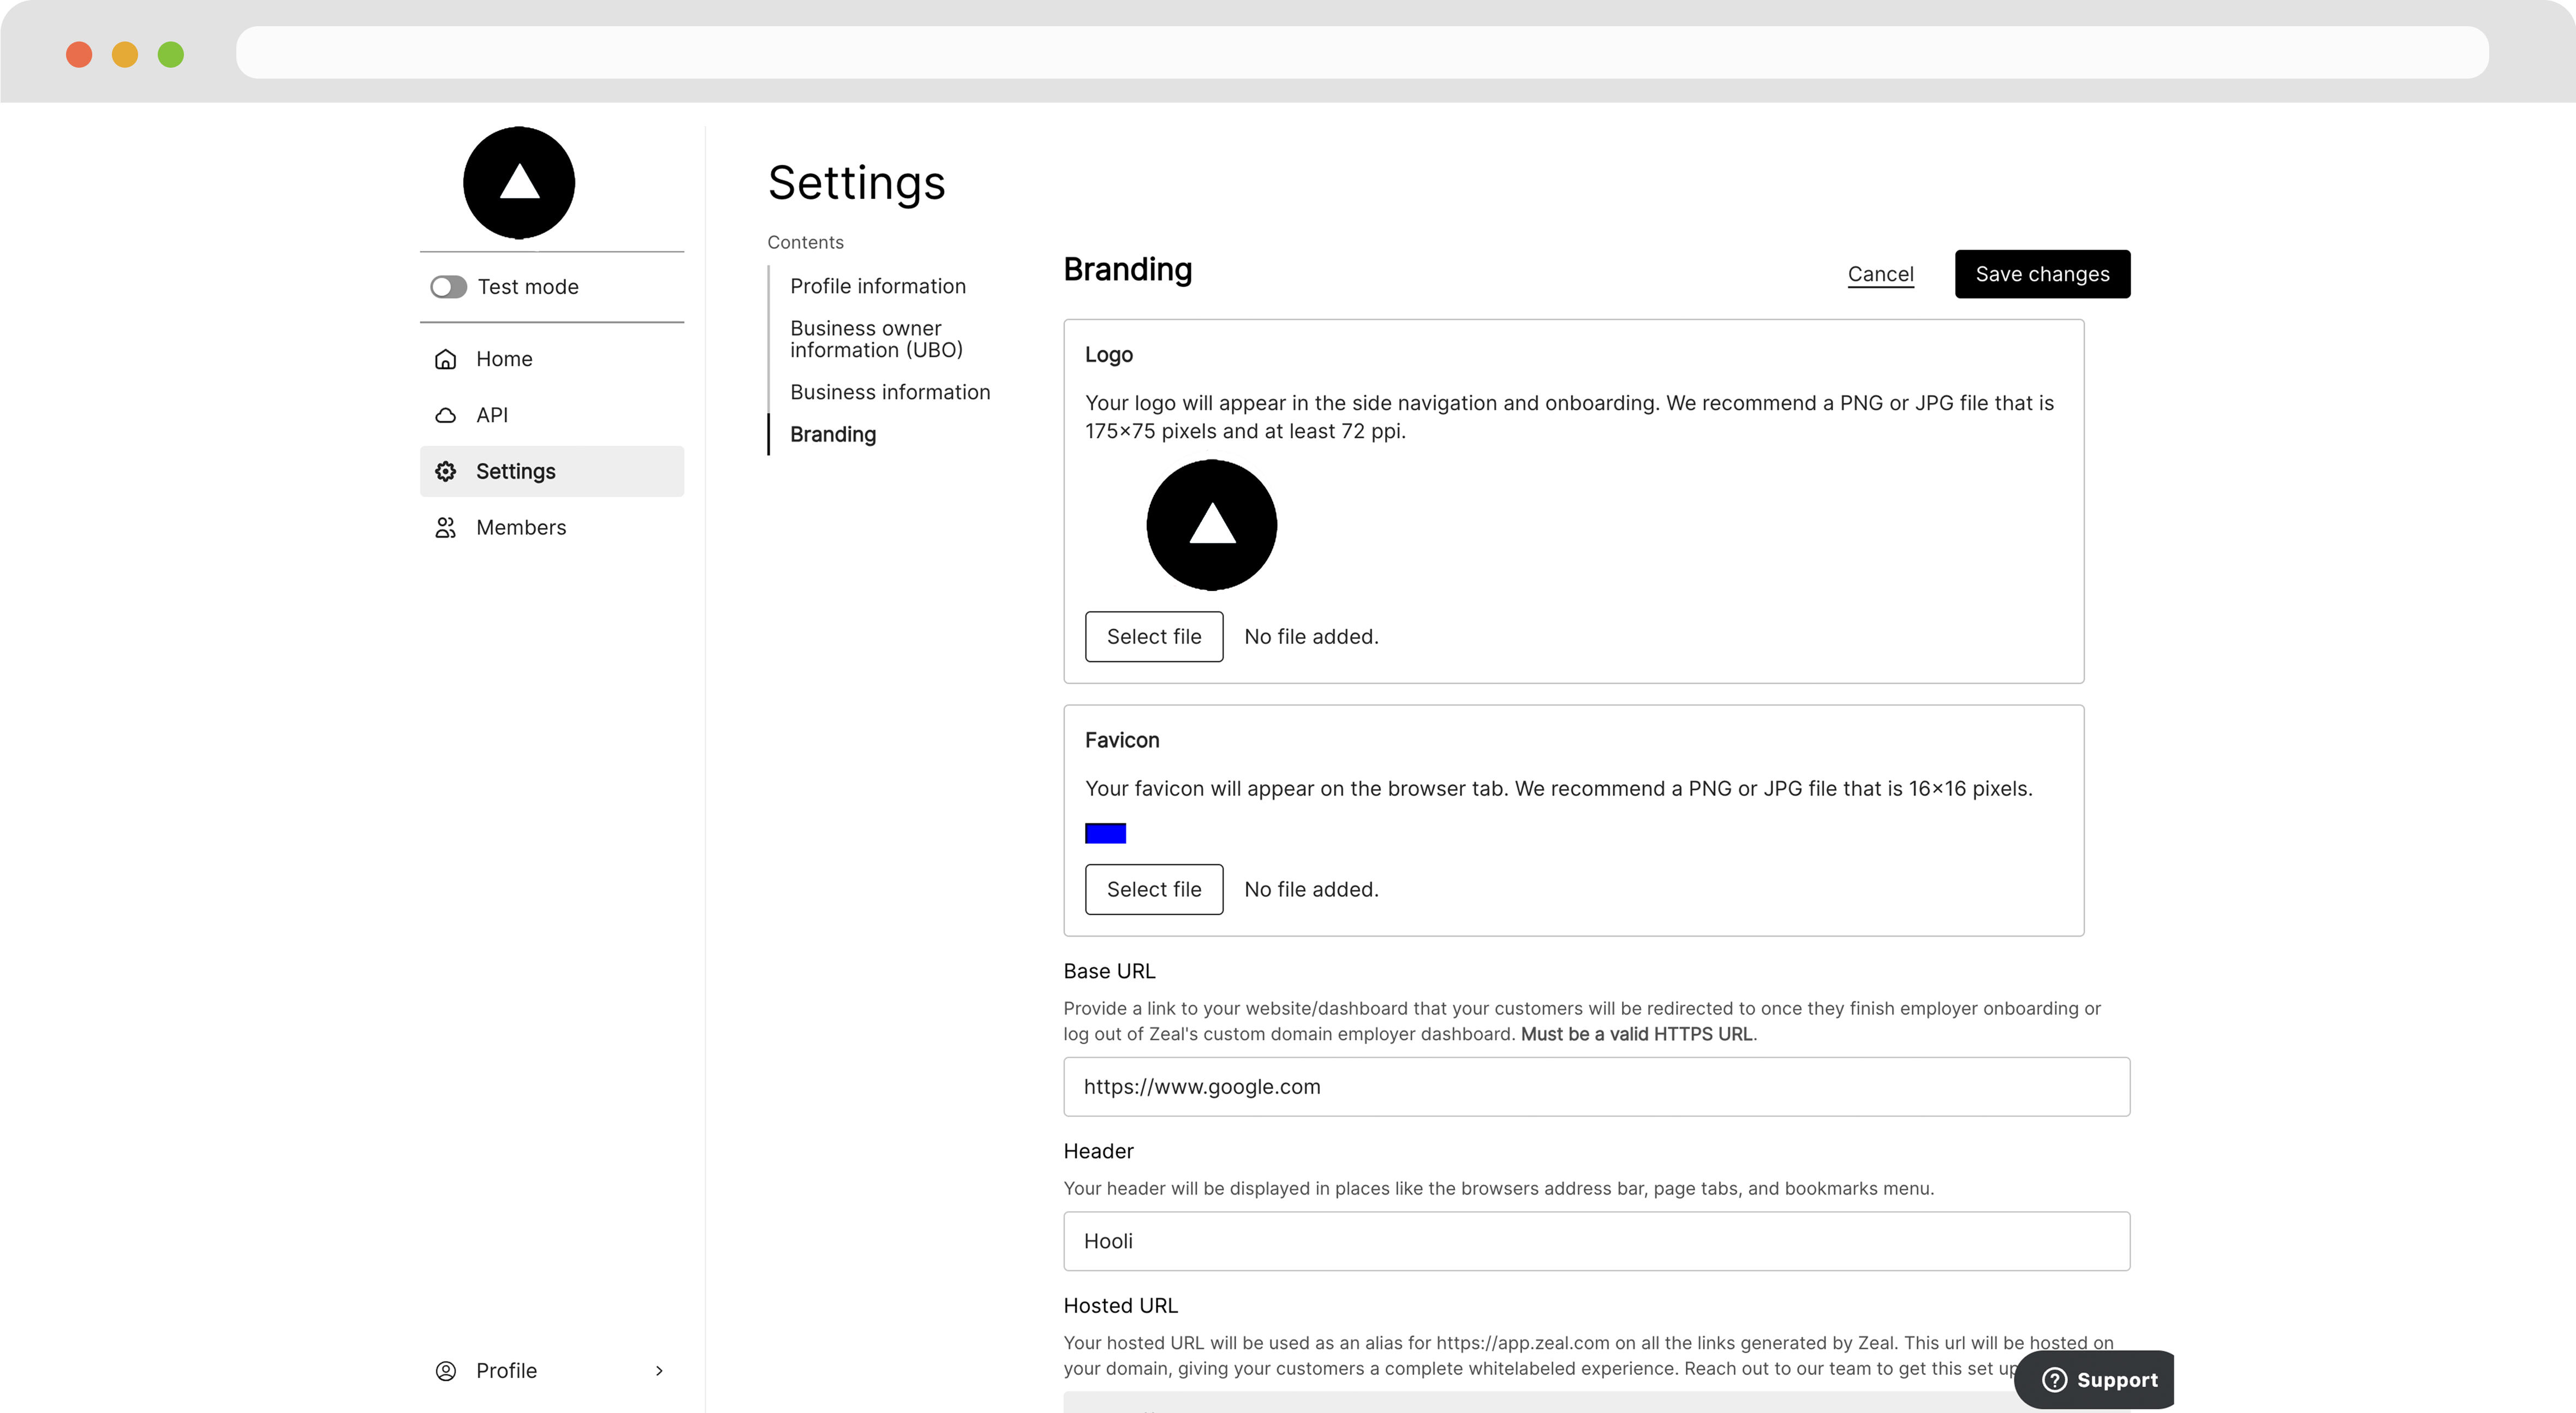
Then, scroll to the Base URL field, enter your desired URL, and click Save changes.
Adding your branding
Finally, to brand the white-label components as your own, you can add your logo and favicon (the icon that appears in the browser tab above the URL).
Navigate to the Settings page, click on the Branding tab, then click the Edit button.
Next, click Select file and upload images for the logo and favicon respectively. Then click Save changes.
With all the configuration set, the white-label components now are on your domain and branded as your own. Whenever a user navigates away from the component, they are redirected to your site.
Create a company
You can now create a company to get started with Zeal's products.
Visit our developer documentation to learn more about Getting Started with Zeal's API.
Updated